After years of paying for various cloud-based services, I recently made the decision to move my family’s data to a private cloud setup. The realization that our private information was sitting on the servers of big tech companies began to worry me more than the monthly fees we were paying.
While many people are comfortable with third-party services,I wanted greater control and security over my family’s sensitive data. This blog post will detail the journey I took to set up our private cloud, including the hardware, software, and configuration choices that made it all come together.
The Reason for the Switch: Privacy and Control
We all know that using cloud-based services means entrusting your data to someone else. While these services are often secure, there’s always the risk of a breach, a change in terms of service, or, in some cases, companies selling data for profit. My family’s privacy became my top priority, and I wanted to take control back into our hands.
Another factor in the decision was cost. After years of paying for multiple subscriptions to cloud services—storage, email, virtual machines, and more—it started to feel like we could be making better use of the resources if we set up our own infrastructure. The flexibility and freedom of a private cloud setup made it an appealing project, and I couldn’t resist the challenge of building something from scratch.
The Hardware: Intel NUC, Unifi, and Fast Broadband
After doing some research, I chose to use an Intel NUC as the core of my server. The Intel NUC is compact, energy-efficient, and powerful enough for a home server. It’s also versatile, which is perfect for running virtual machines (VMs), databases, and various other services I plan to host. The small form factor is a big win for those of us who don’t have a lot of space to dedicate to bulky hardware.
For networking, I went with Unifi products. Their range of networking equipment, from routers to switches to access points, is known for being reliable, secure, and easy to manage. Setting up Unifi networking devices has been a breeze, and they integrate seamlessly with other devices.
To ensure that my family’s cloud services are fast and reliable, I’ve opted for 500x500 Mbit broadband. This speed will be more than enough to handle high traffic, video streaming, file uploads/downloads, and all the other activities our private cloud will support.
The Software Stack: Building the Private Cloud
With the hardware decided, the next step was to select the software that would power my private cloud. I needed tools that offered reliability, security, and scalability. Here’s the software stack I chose:
1. Proxmox for Virtualization and Backup
Proxmox is a powerful open-source virtualization platform. It will allow me to run multiple virtual machines on a single physical server, making it easy to manage different services (like DNS, mail, collaboration tools) in isolated environments. Proxmox also has an excellent backup solution that will keep our data safe in case of failure.
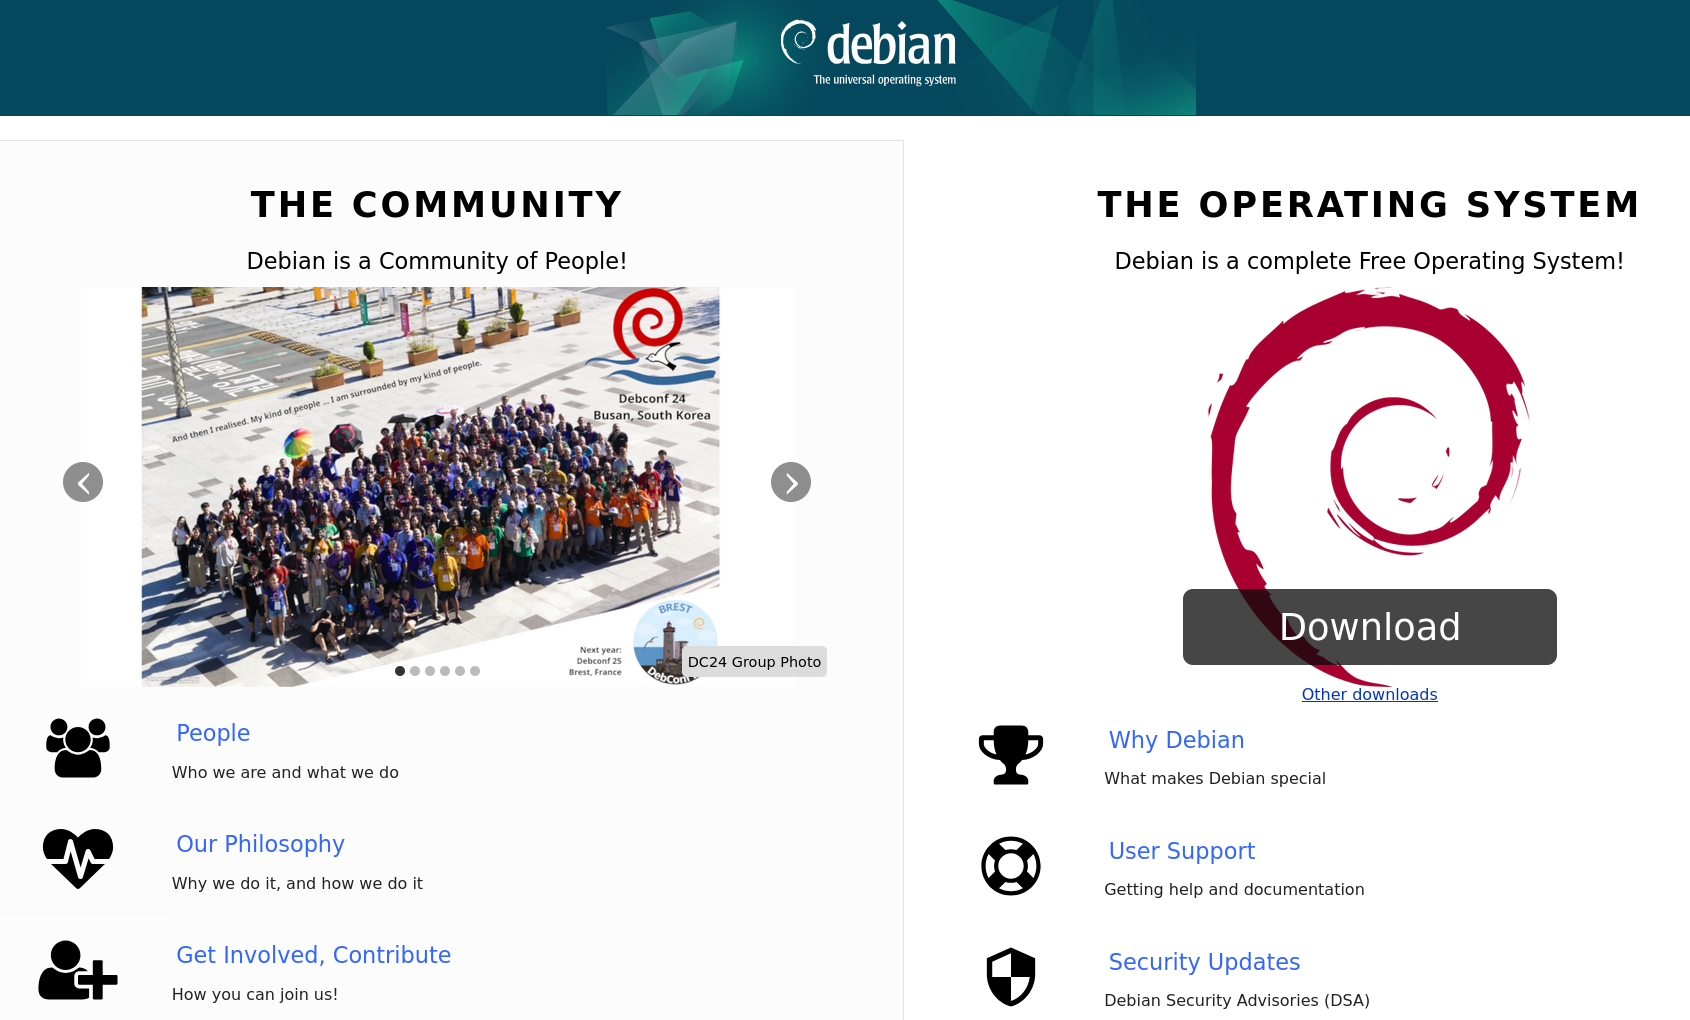
2. Debian as Server OS
For the operating system, I went with Debian. Debian is well-known for its stability, security, and large community support. It’s lightweight and doesn’t require unnecessary bloat, which is perfect for a home server setup. Plus, it’s compatible with a wide variety of software packages.
3. Bind for DNS
Managing our own DNS is key to maintaining control over our domain names and internal network addresses. Bind is a robust, widely-used DNS software that gives me the flexibility I need for internal and external DNS management.
4. OpenLDAP for User and Computer Management
OpenLDAP is an open-source implementation of the Lightweight Directory Access Protocol. It will help me centralize the management of users, groups, and computers in our private cloud. By using OpenLDAP, I can easily authenticate users and manage access to different services across the network.
5. MariaDB for Databases
For any database needs, I chose MariaDB, a community-driven fork of MySQL. It's fast, reliable, and a solid choice for handling everything from simple websites to more complex data storage tasks. MariaDB will support any services that require databases, from our collaboration tools to custom applications.
6. Keycloak as an Identity Provider (IDP)
Keycloak is a powerful open-source Identity and Access Management (IAM) solution. It allows me to manage authentication and authorization across multiple services in our cloud. Keycloak supports Single Sign-On (SSO), making it easier for my family to securely log into all of our cloud services with one set of credentials.
7. Stalwart for Mail Server
Email is a crucial part of everyday life, and I wanted full control over our mail server. Stalwart is a lightweight mail server solution that I can easily set up and configure. It ensures secure and reliable email delivery while giving me the flexibility to manage email accounts, spam filtering, and more.
8. Nextcloud for Collaboration
Finally, for file storage, syncing, and collaboration, I went with Nextcloud. Nextcloud is an open-source, self-hosted alternative to services like Google Drive or Dropbox. It offers a full suite of tools for collaboration—file sharing, document editing, calendar management, and more. With Nextcloud, my family can collaborate seamlessly while keeping everything on our own server.
Configuration and Security
Once I had all the hardware and software in place, the next step was to configure everything. Setting up Proxmox to run multiple VMs, configuring the DNS settings with Bind, and integrating everything with Keycloak took some time, but the process was incredibly rewarding.
Security was a top priority, so I took the necessary precautions to harden the server. I set up a firewall, used SSH keys for remote access, and ensured all services were running the latest security patches. Additionally, I configured automated backups of both system data and user data, ensuring that everything is recoverable in case of a failure.
Conclusion: A Satisfying Journey to Full Control
Setting up a private cloud has been a fun and educational journey. While it took some effort and research, the result is a much more secure, flexible, and cost-effective solution for my family’s data. We no longer rely on third-party services to store our most important files, and we have complete control over how our data is managed and accessed.
If you’re considering making the switch to a private cloud, I highly recommend diving into the world of self-hosting. With the right hardware, software, and a little bit of elbow grease, you can create a secure, private space for your data—one that fits your needs and gives you full control.
Stay tuned for more posts detailing the configuration process and any challenges I faced along the way. I’ll also dive deeper into the performance of this setup as we continue using it.
Have you made the leap to self-hosting? I'd love to hear about your experience!